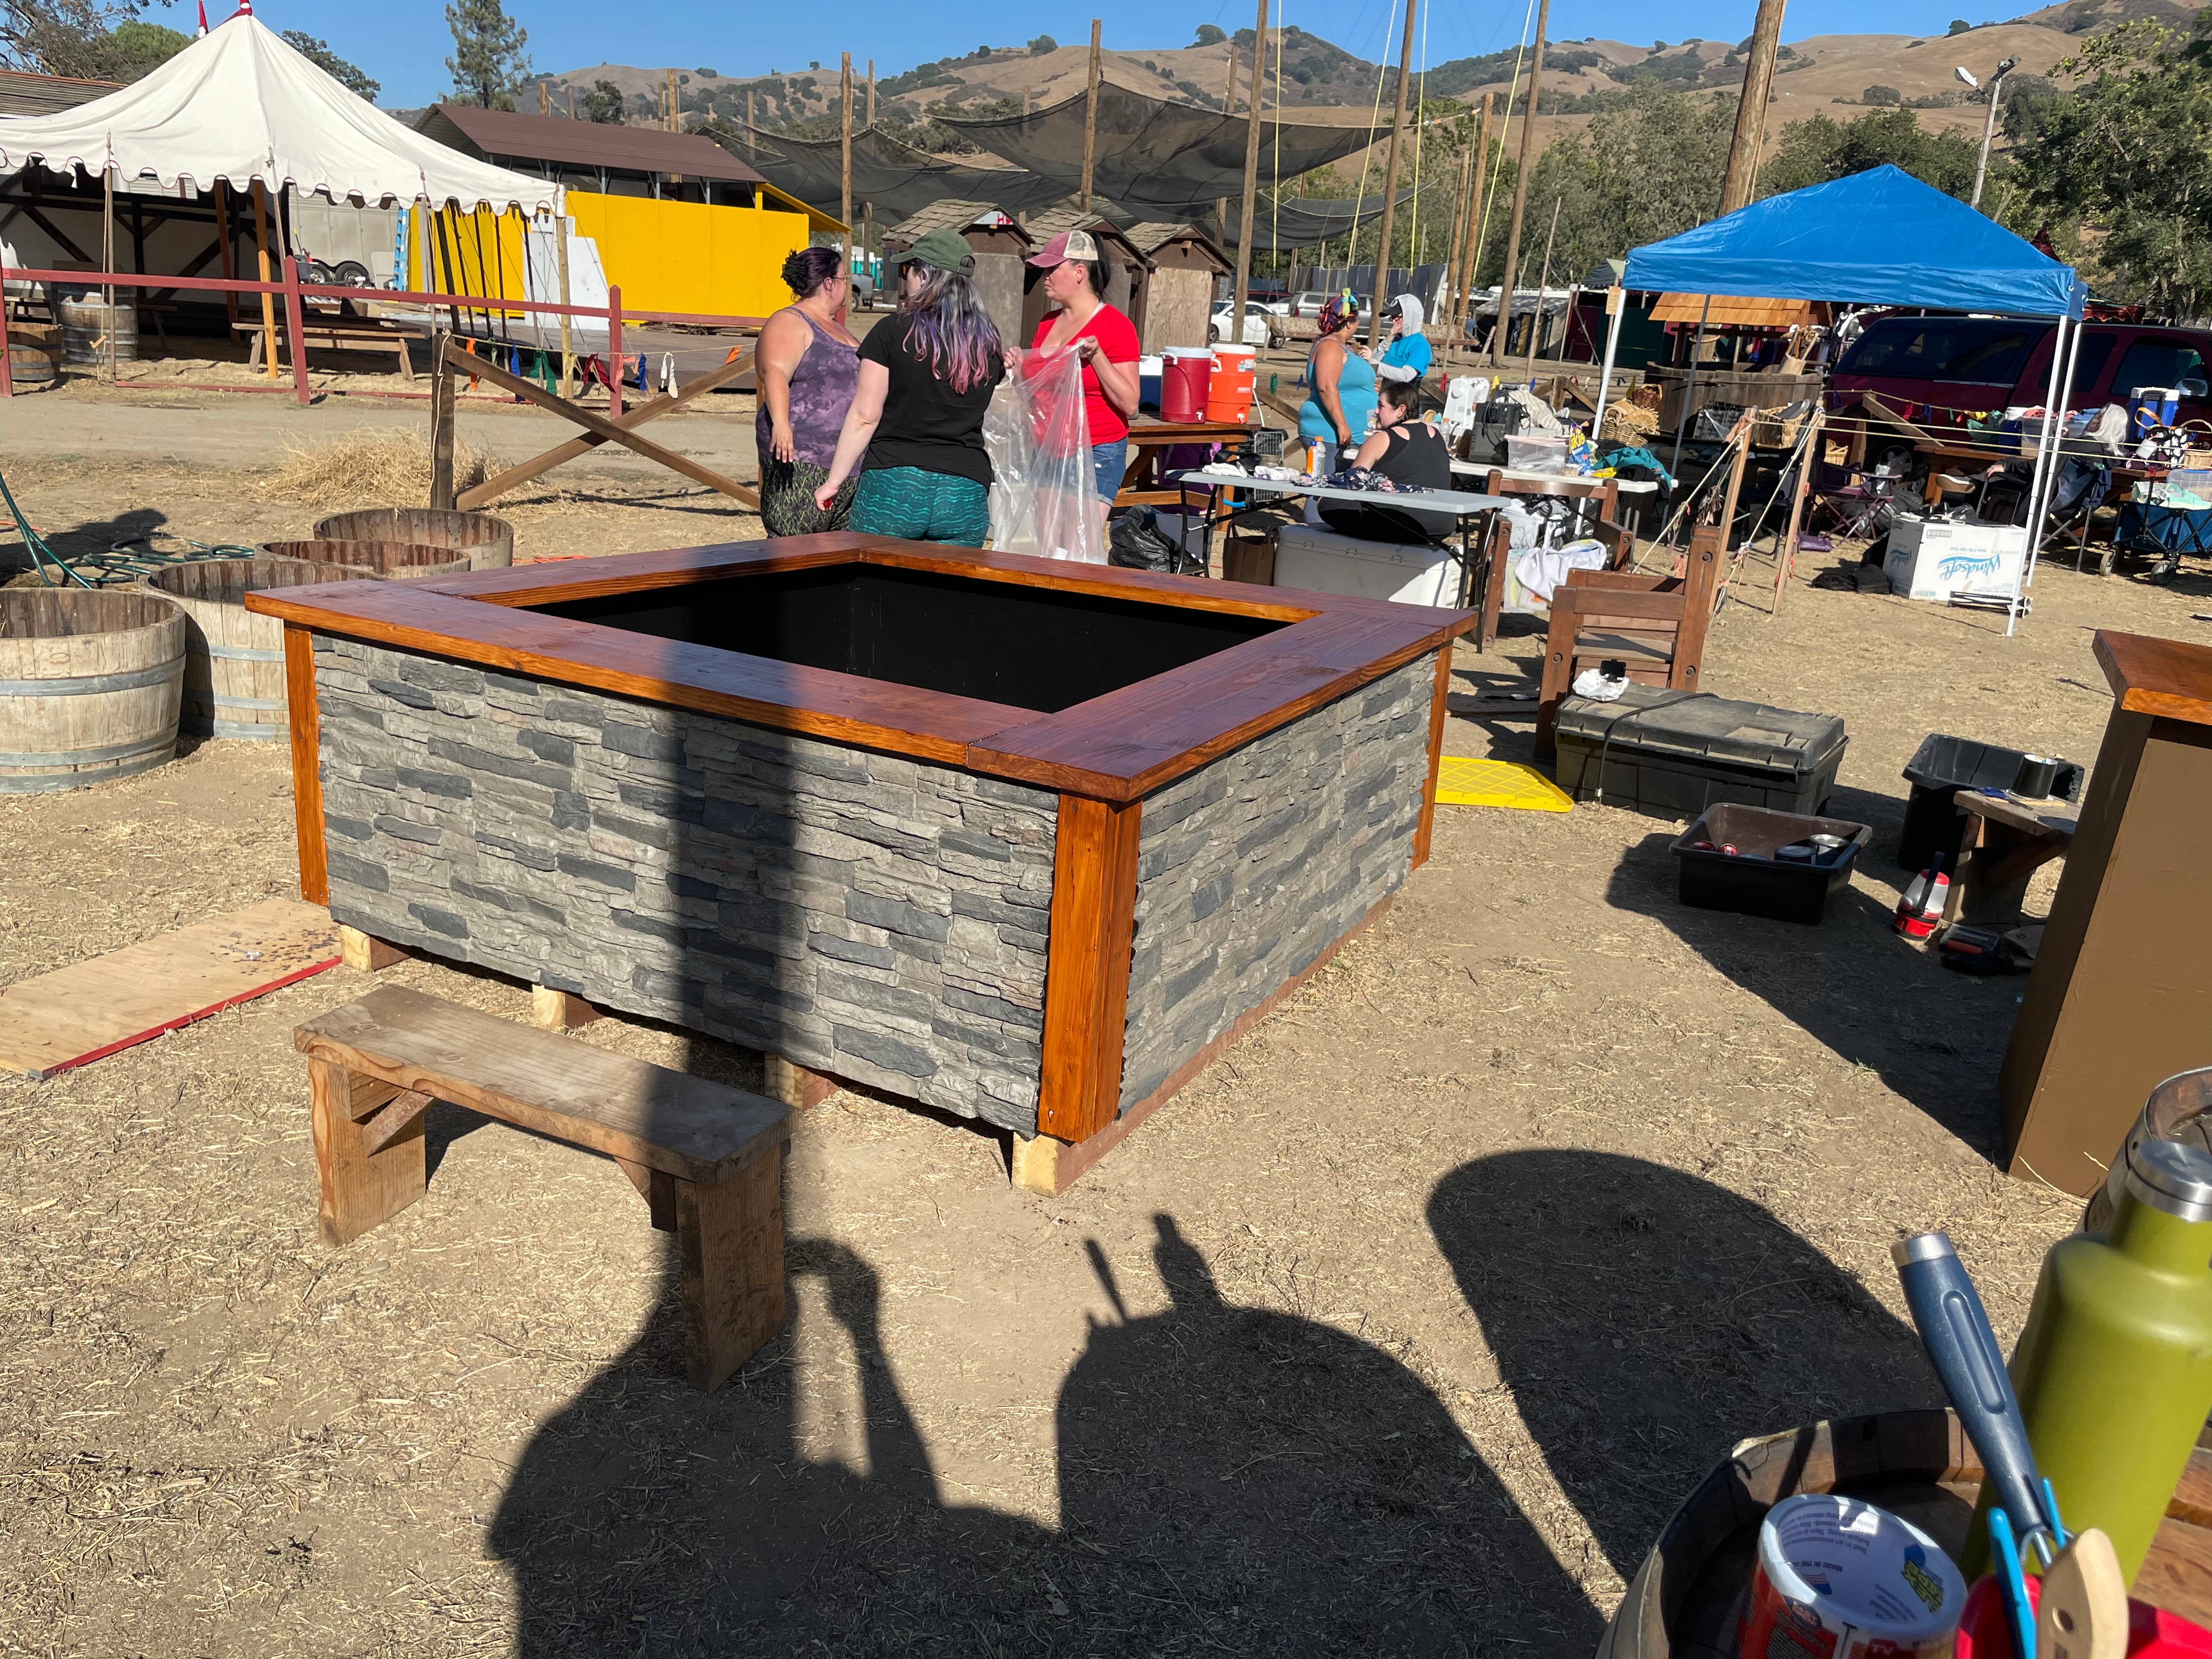
Basin
My wife does the Northern California Renaissance Faire and her guild, the Washer Women, needed a new wash basin. This is a big tub with water in it, where her group congregates around, sitting on the edges of it, singing and playing at doing laundry.
She asked me to design and build the new basin this year, with an initial sketch of what she wanted. I came up with this design:
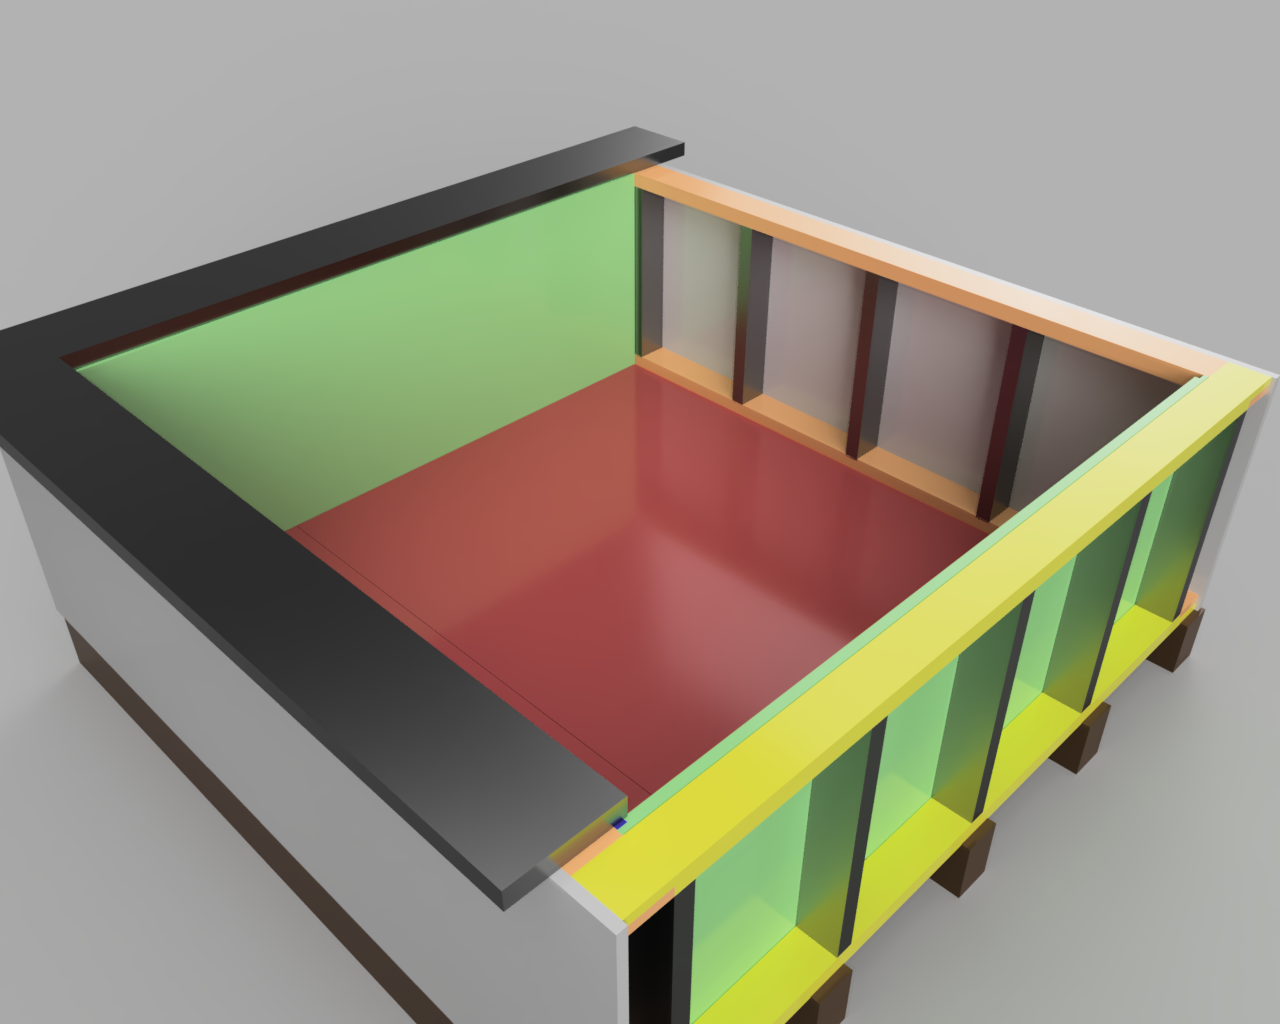
The colors in the above rendering are just for differentiating the different parts, everything is going to be decidedly wood-colored in the end.
The overall basin footprint is six feet square, with two-foot-tall sides. The bottom, inner and outer sheathing is ¾ inch plywood. The inside of the walls is 2-by-4 stick framing. The bottom slats are 4-by-6 pressure-treated beams. The top ledge is 2-by-10's (shown as 2-by-6's in the render above, I didn't bother to change this detail in the render after making the final decisions on materials).
All plywood joints are half-lap joints, glued and screwed, and the inner walls sit in a dado cut into the floor.
Materials-wise, I went with AB marine plywood for the bottom and inner walls; ACX plywood for the outside walls. The inner framing is bog-standard Doug Fir. I had tried toe-nailing when assembling the framing inside the walls, but gave up pretty quickly and used deck screws at an angle.
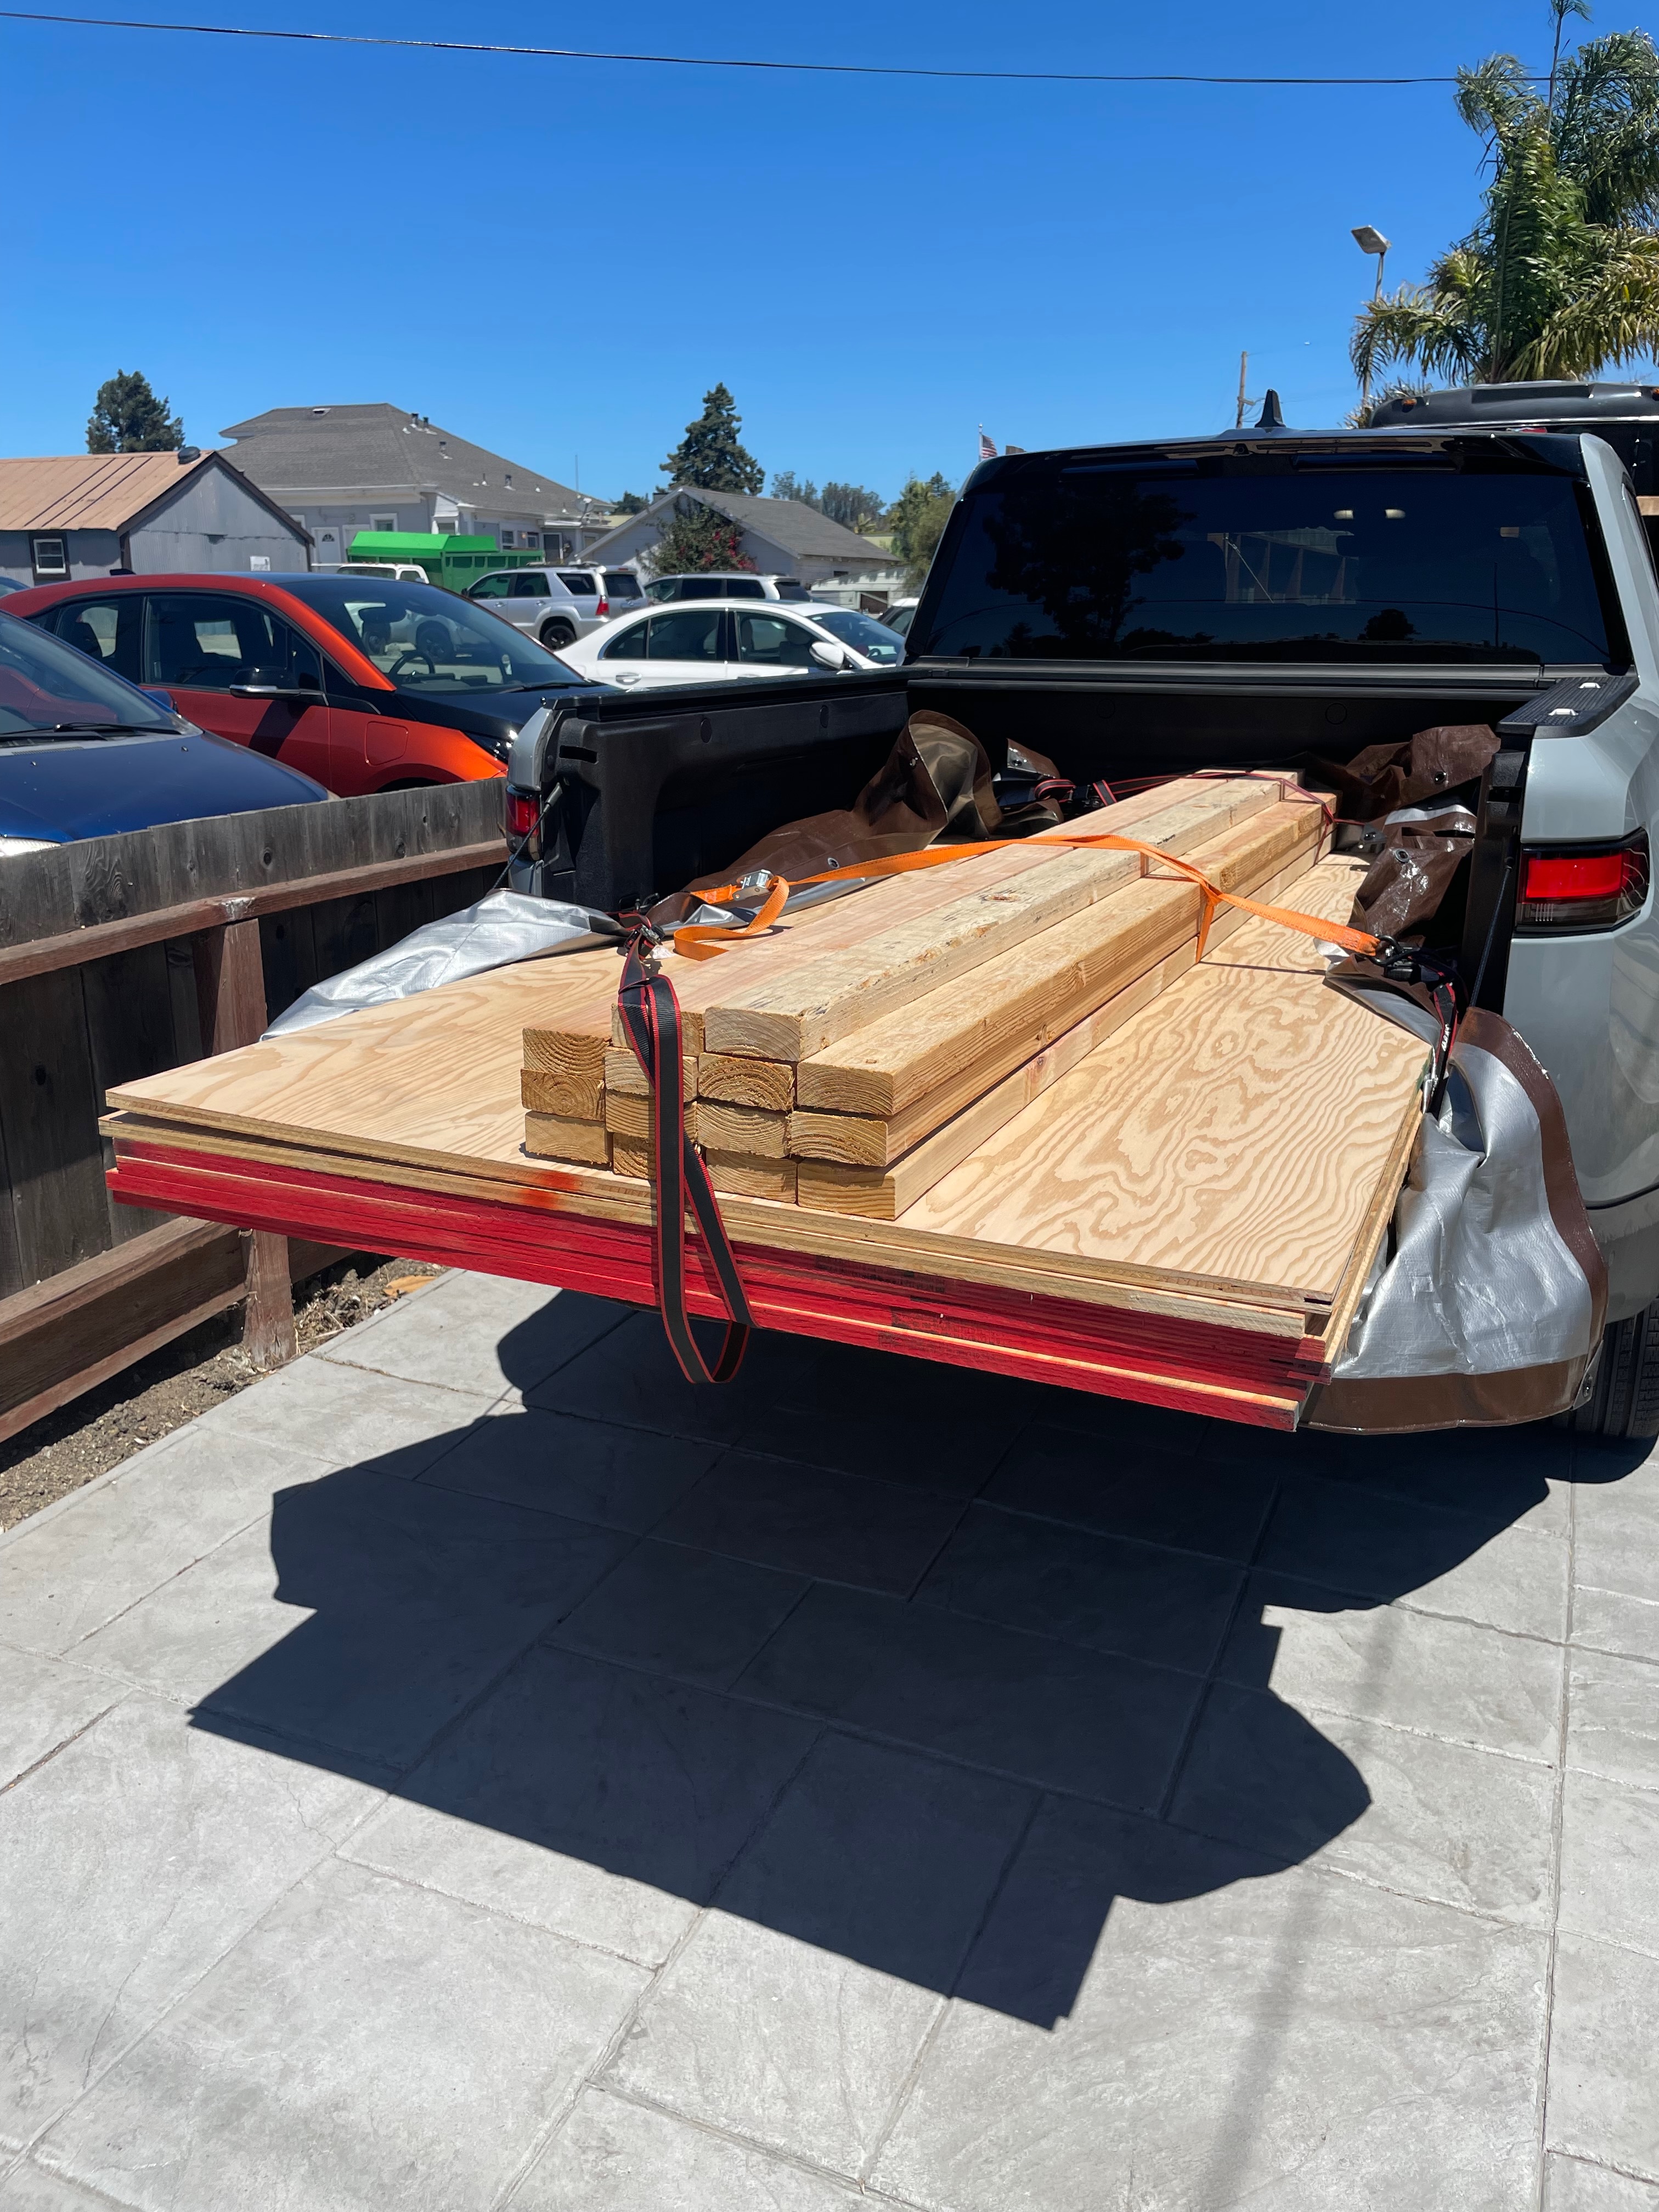
This doesn't seem like that much material, but it definitely cost a lot!
Building the basic box was pretty straightforward. I couldn't obtain a router bit that could make wide enough rabbets, so I instead rabbeted both sheets with a half-width rabbet, and the two fit together nicely. The dadoes in the bottom were easily cut using a straight-bottom ¾ inch bit and an adapter for my track saw track. This was the first time I was able to use the track saw adapter successfully, and it turned out to work well!
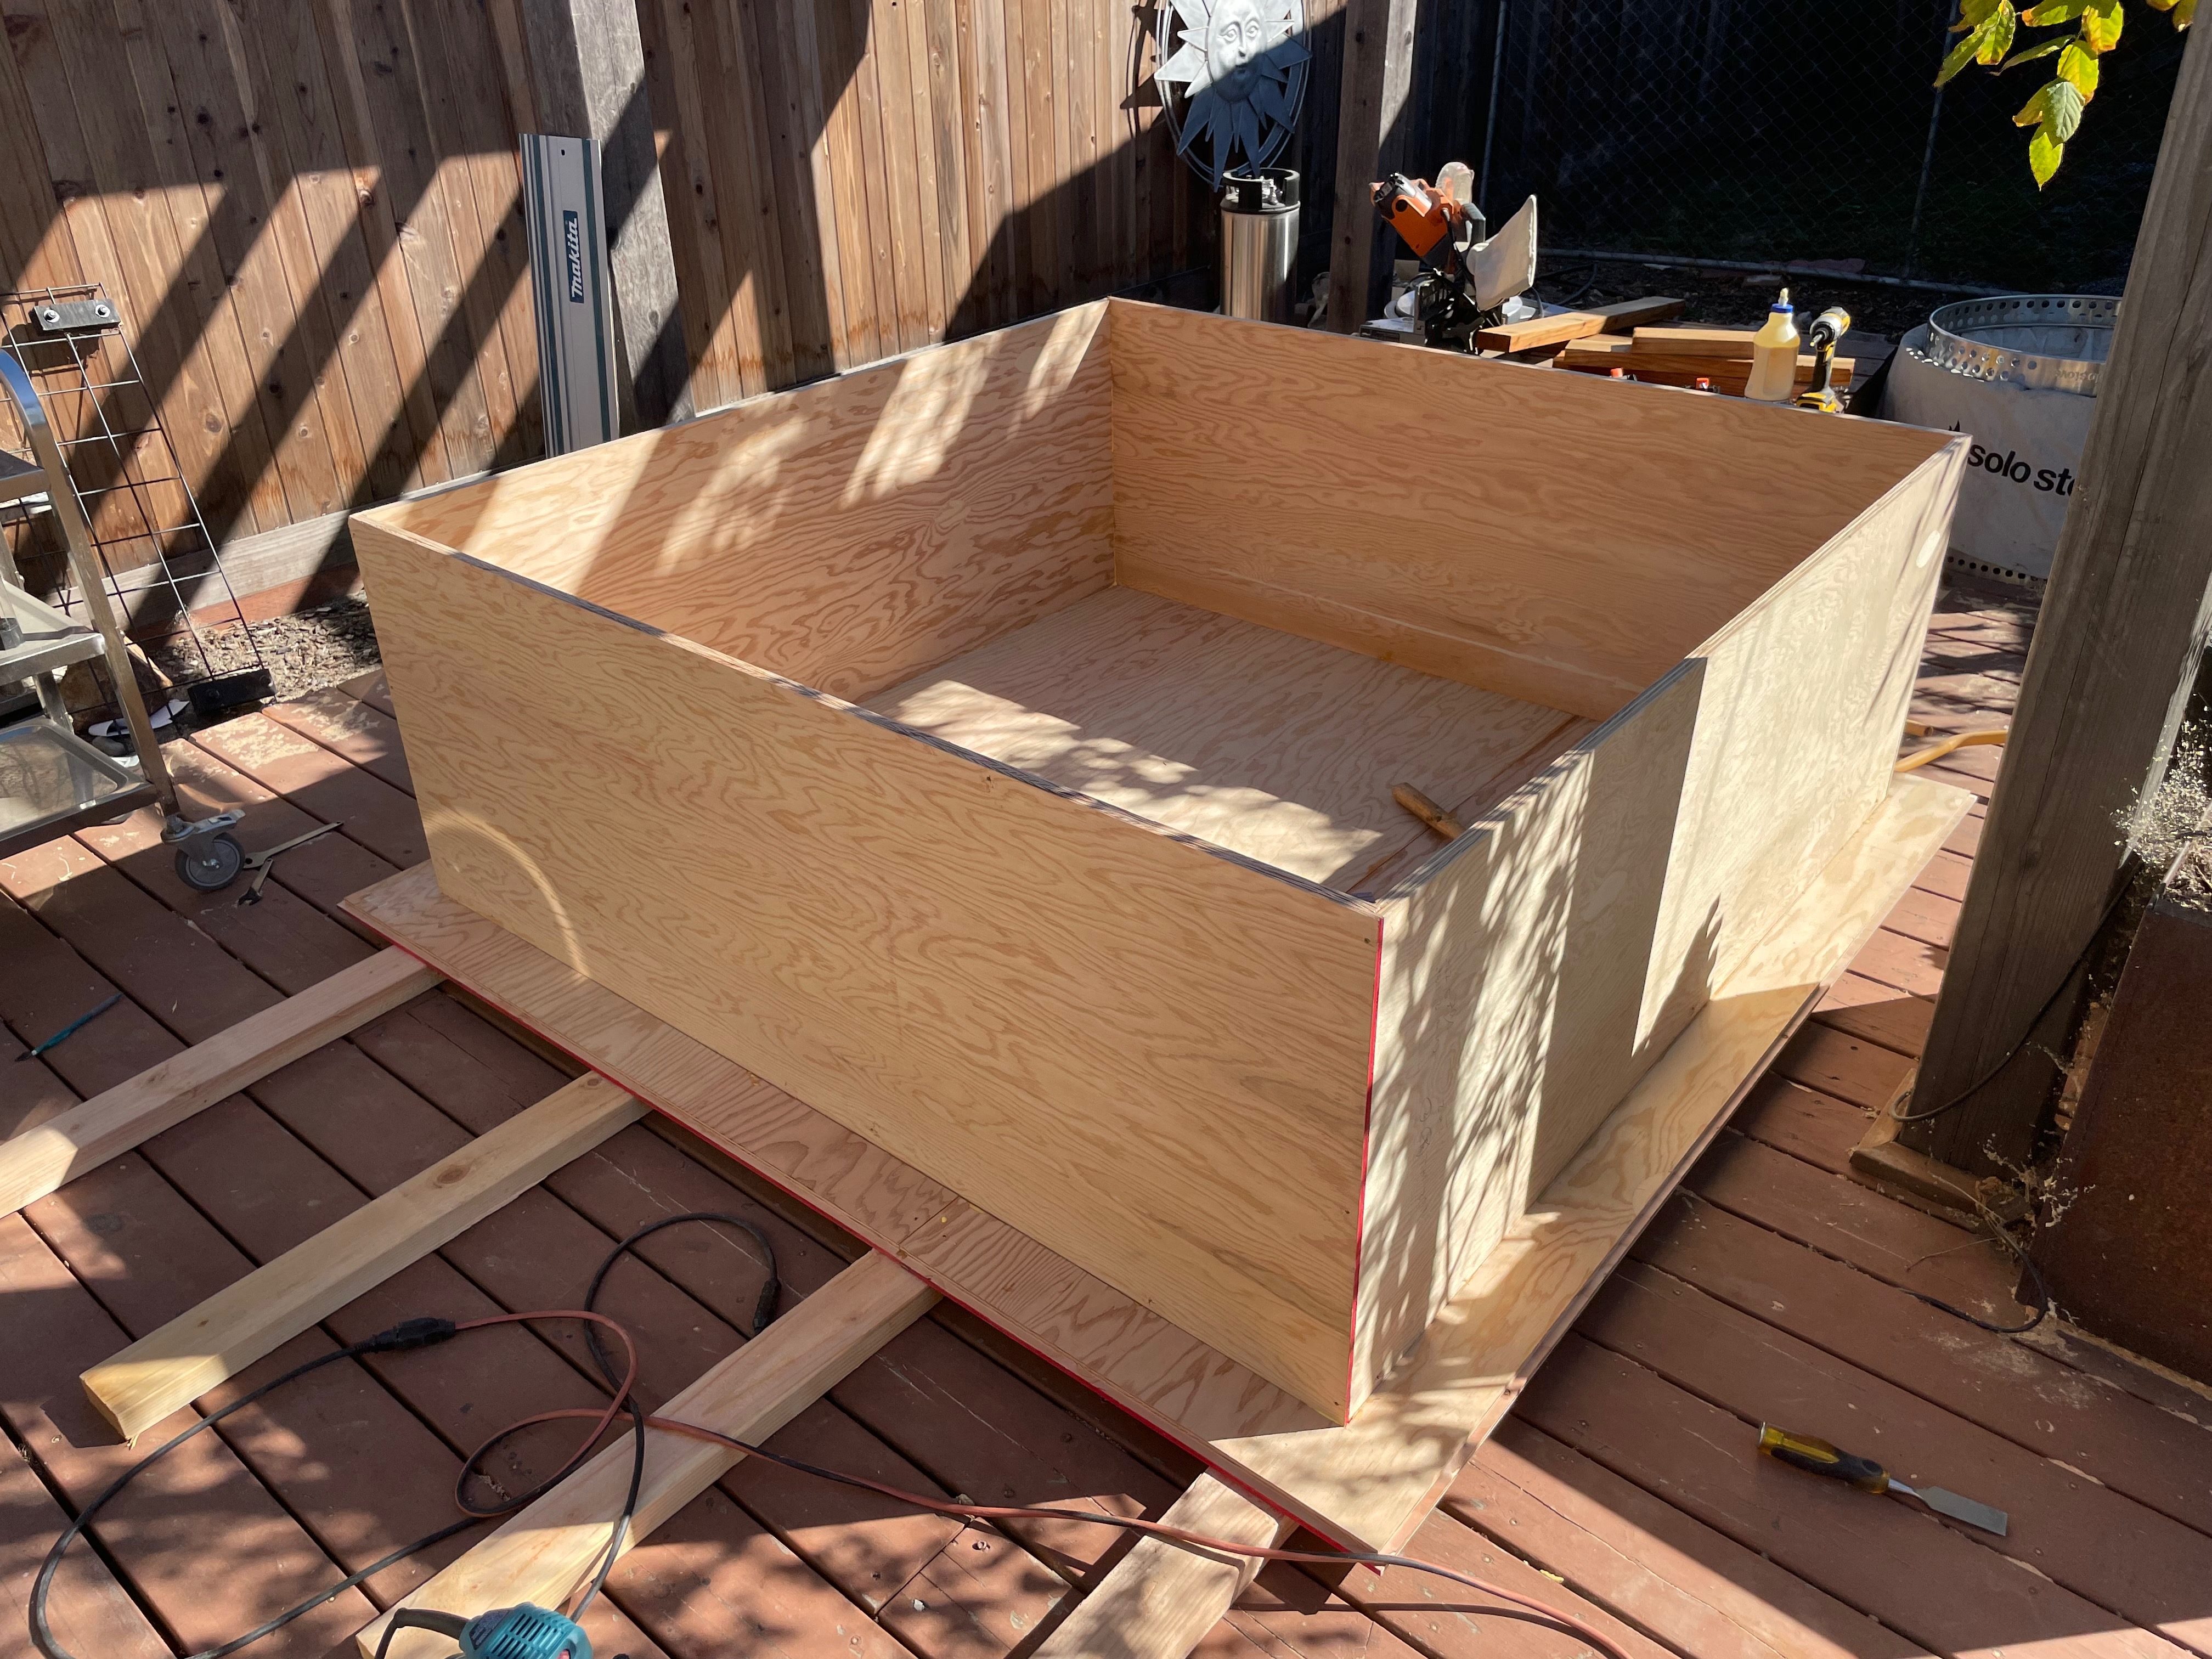
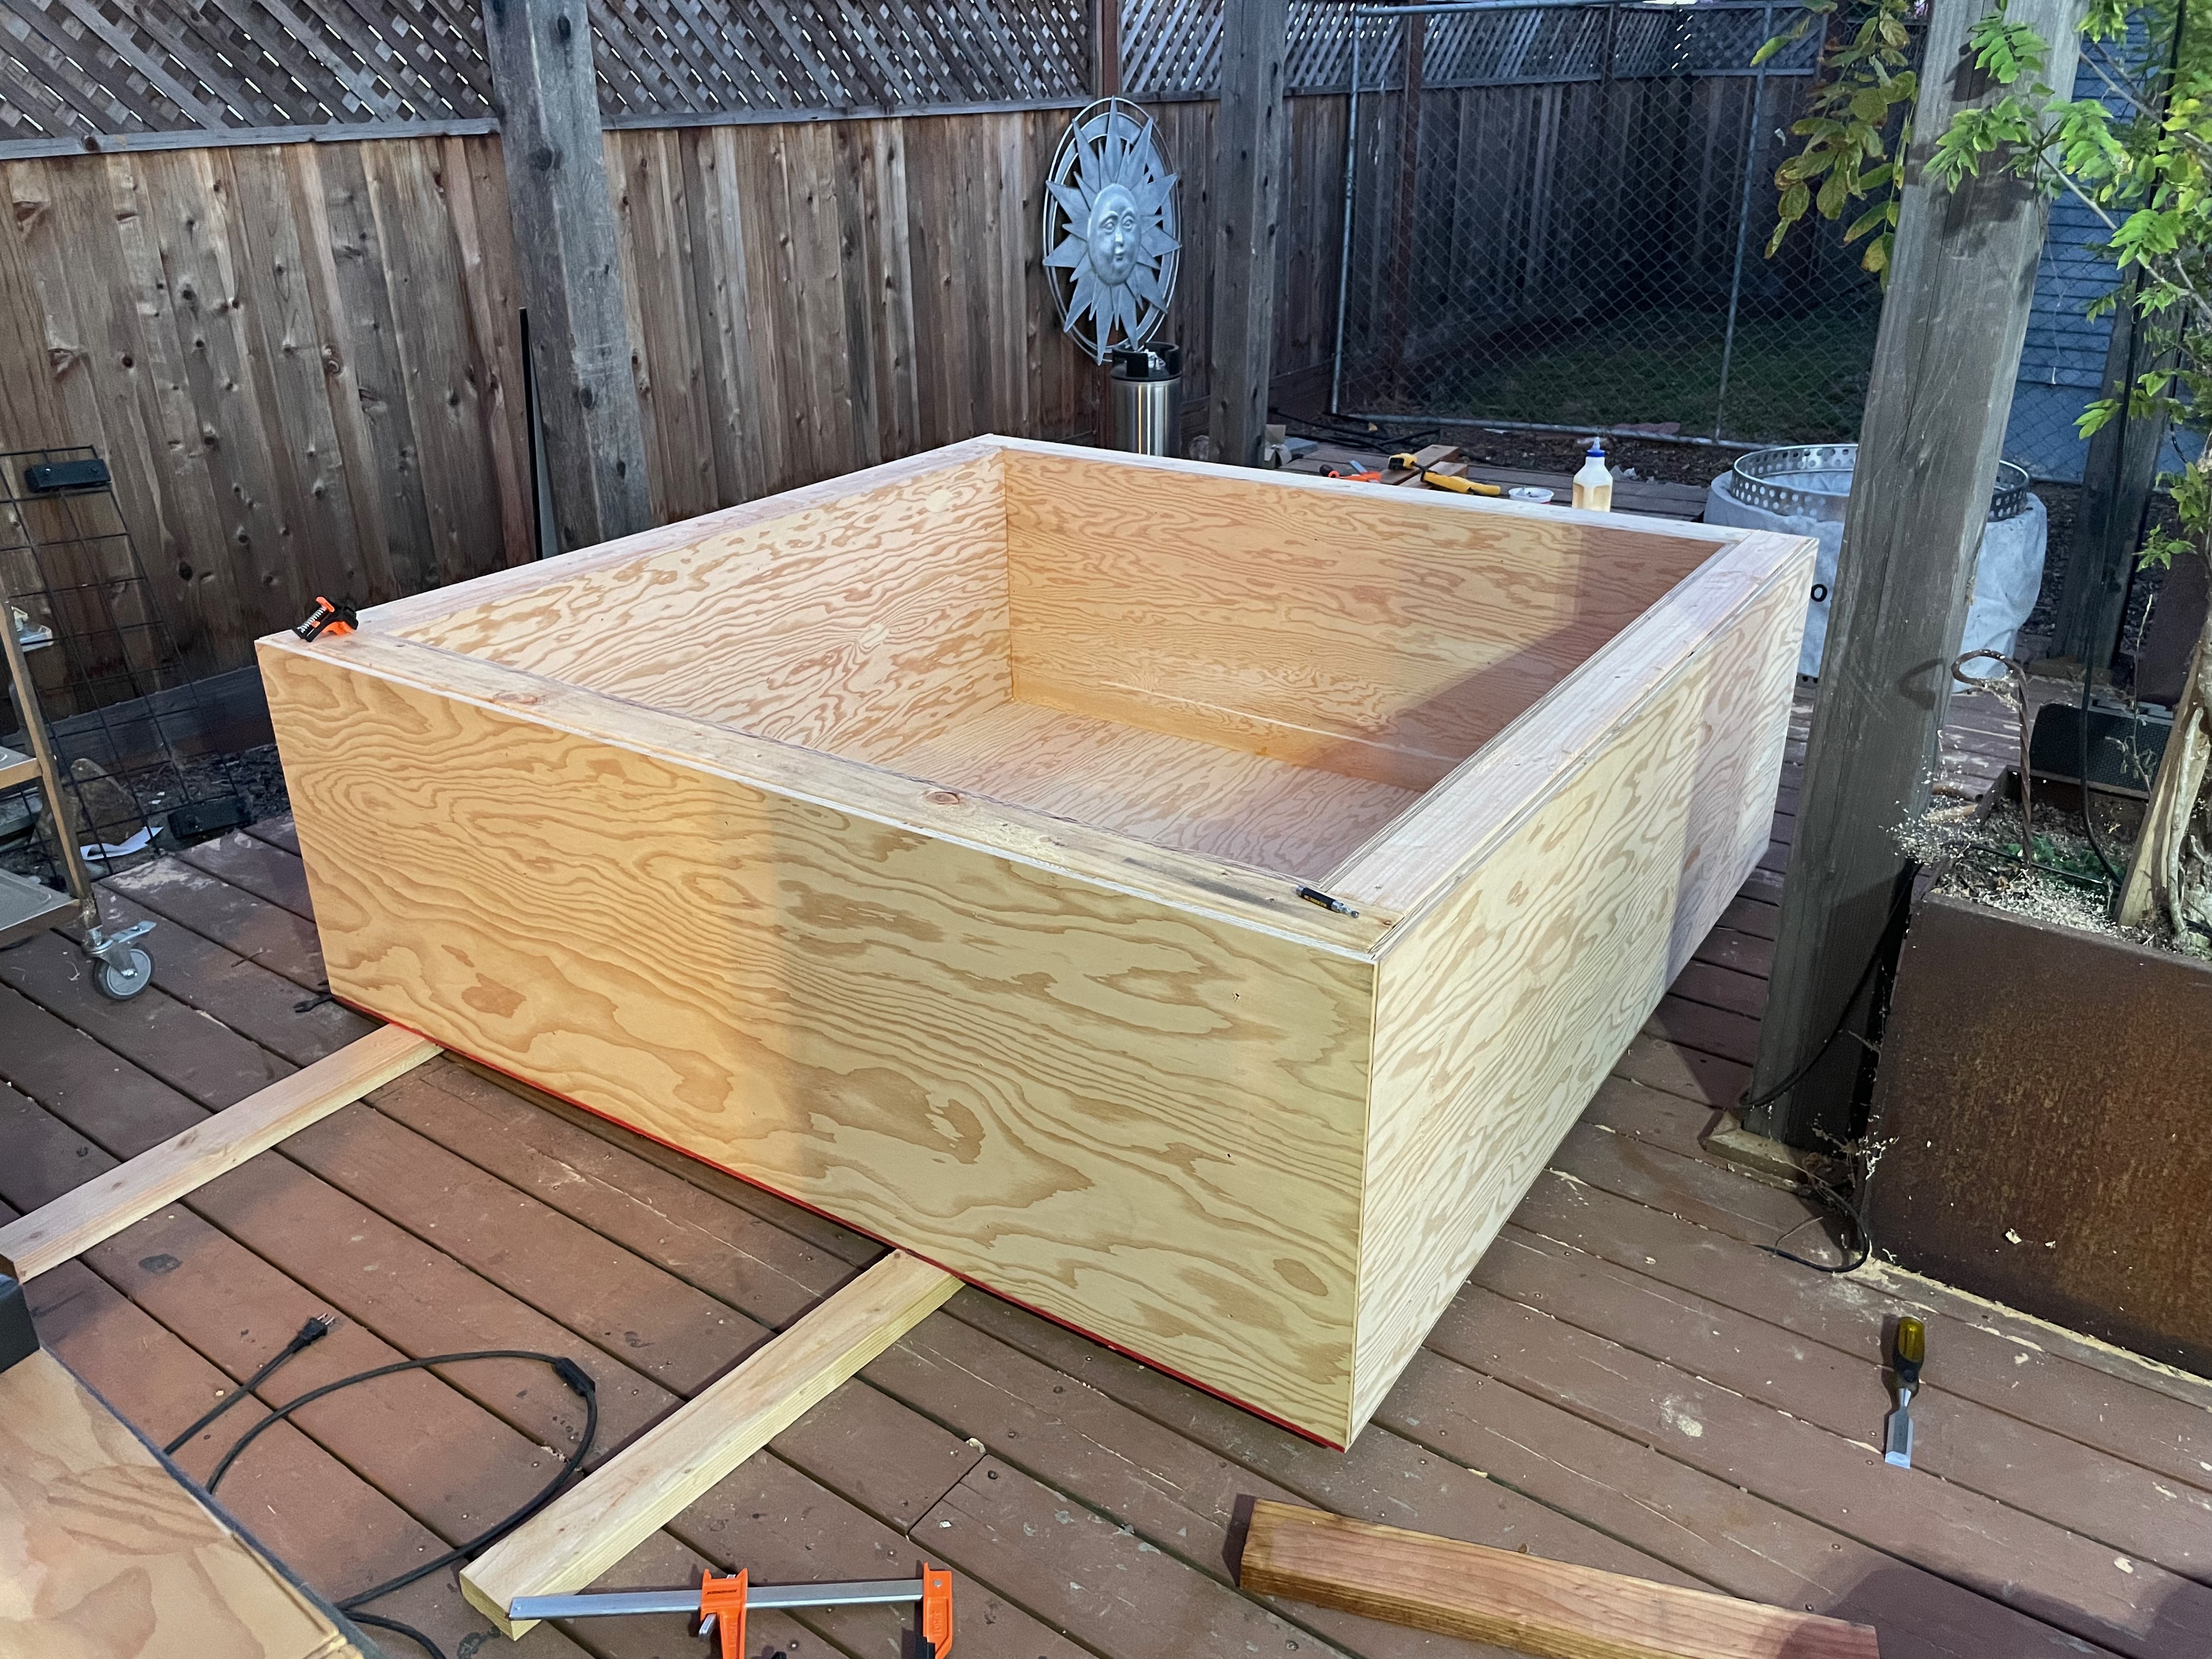
I'm bad at taking pictures during a build, so that's pretty much it for in-progress shots.
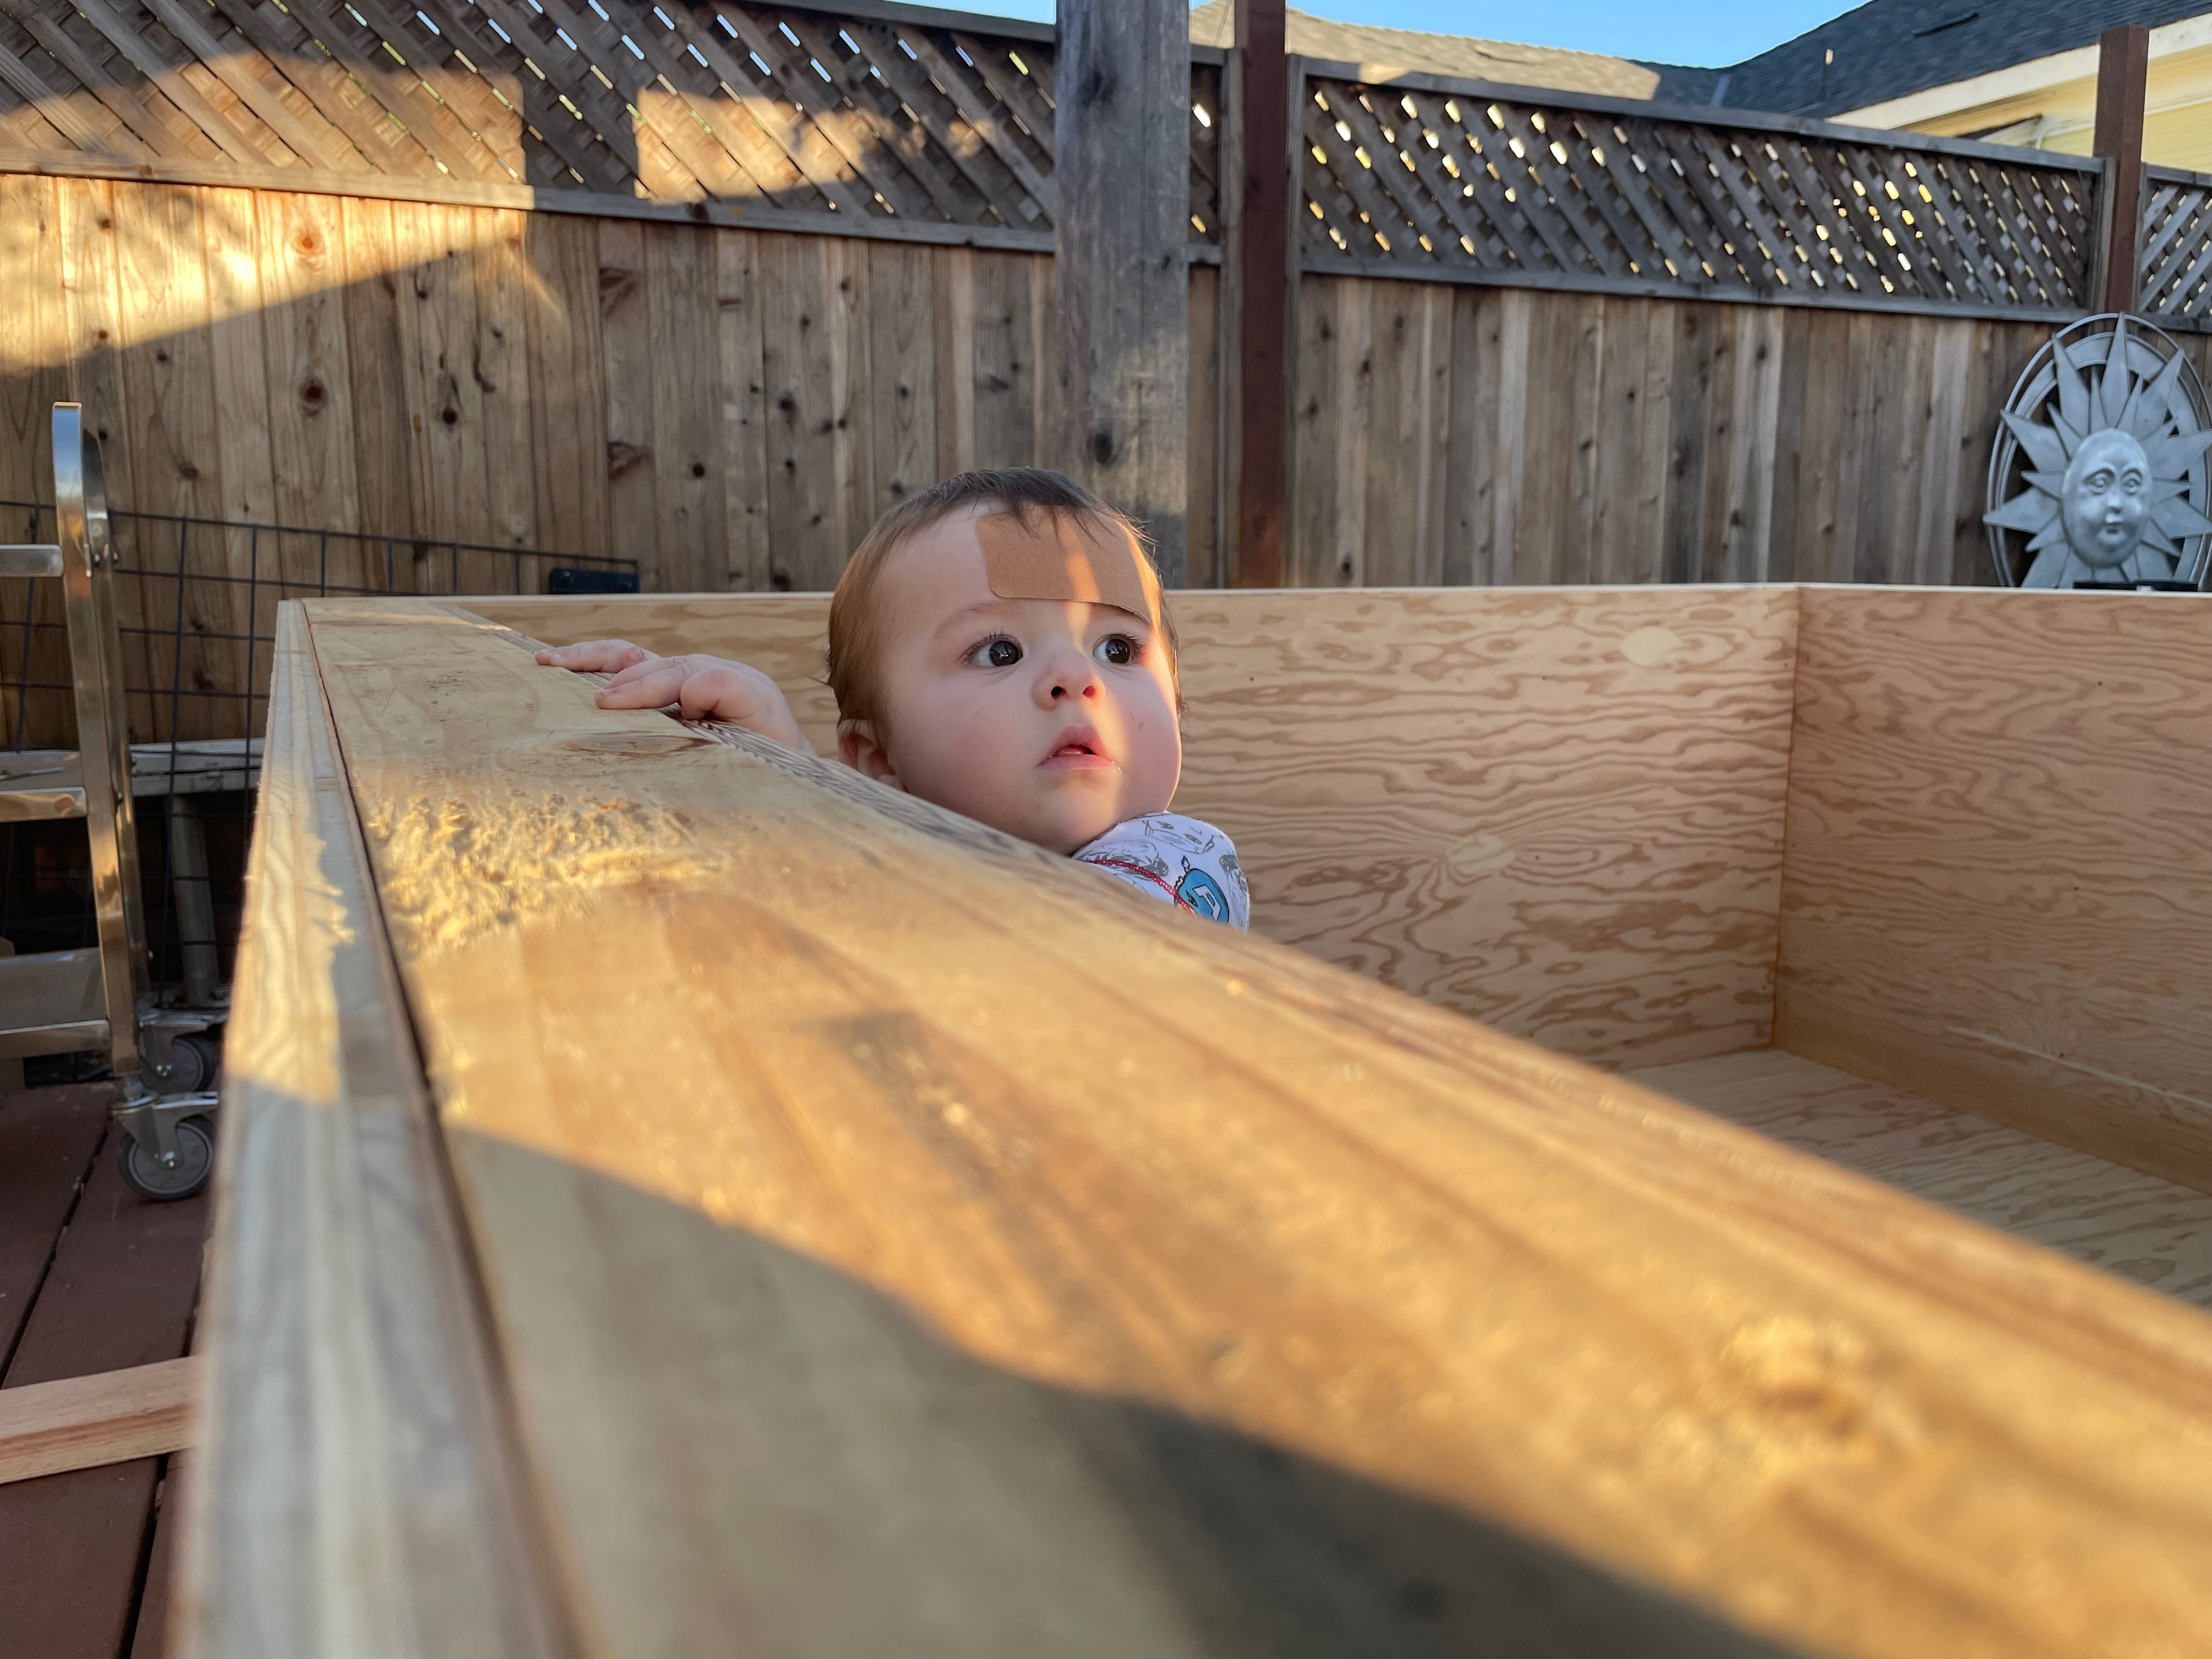
My son enjoyed the box, this almost seemed like a great idea for a playpen.
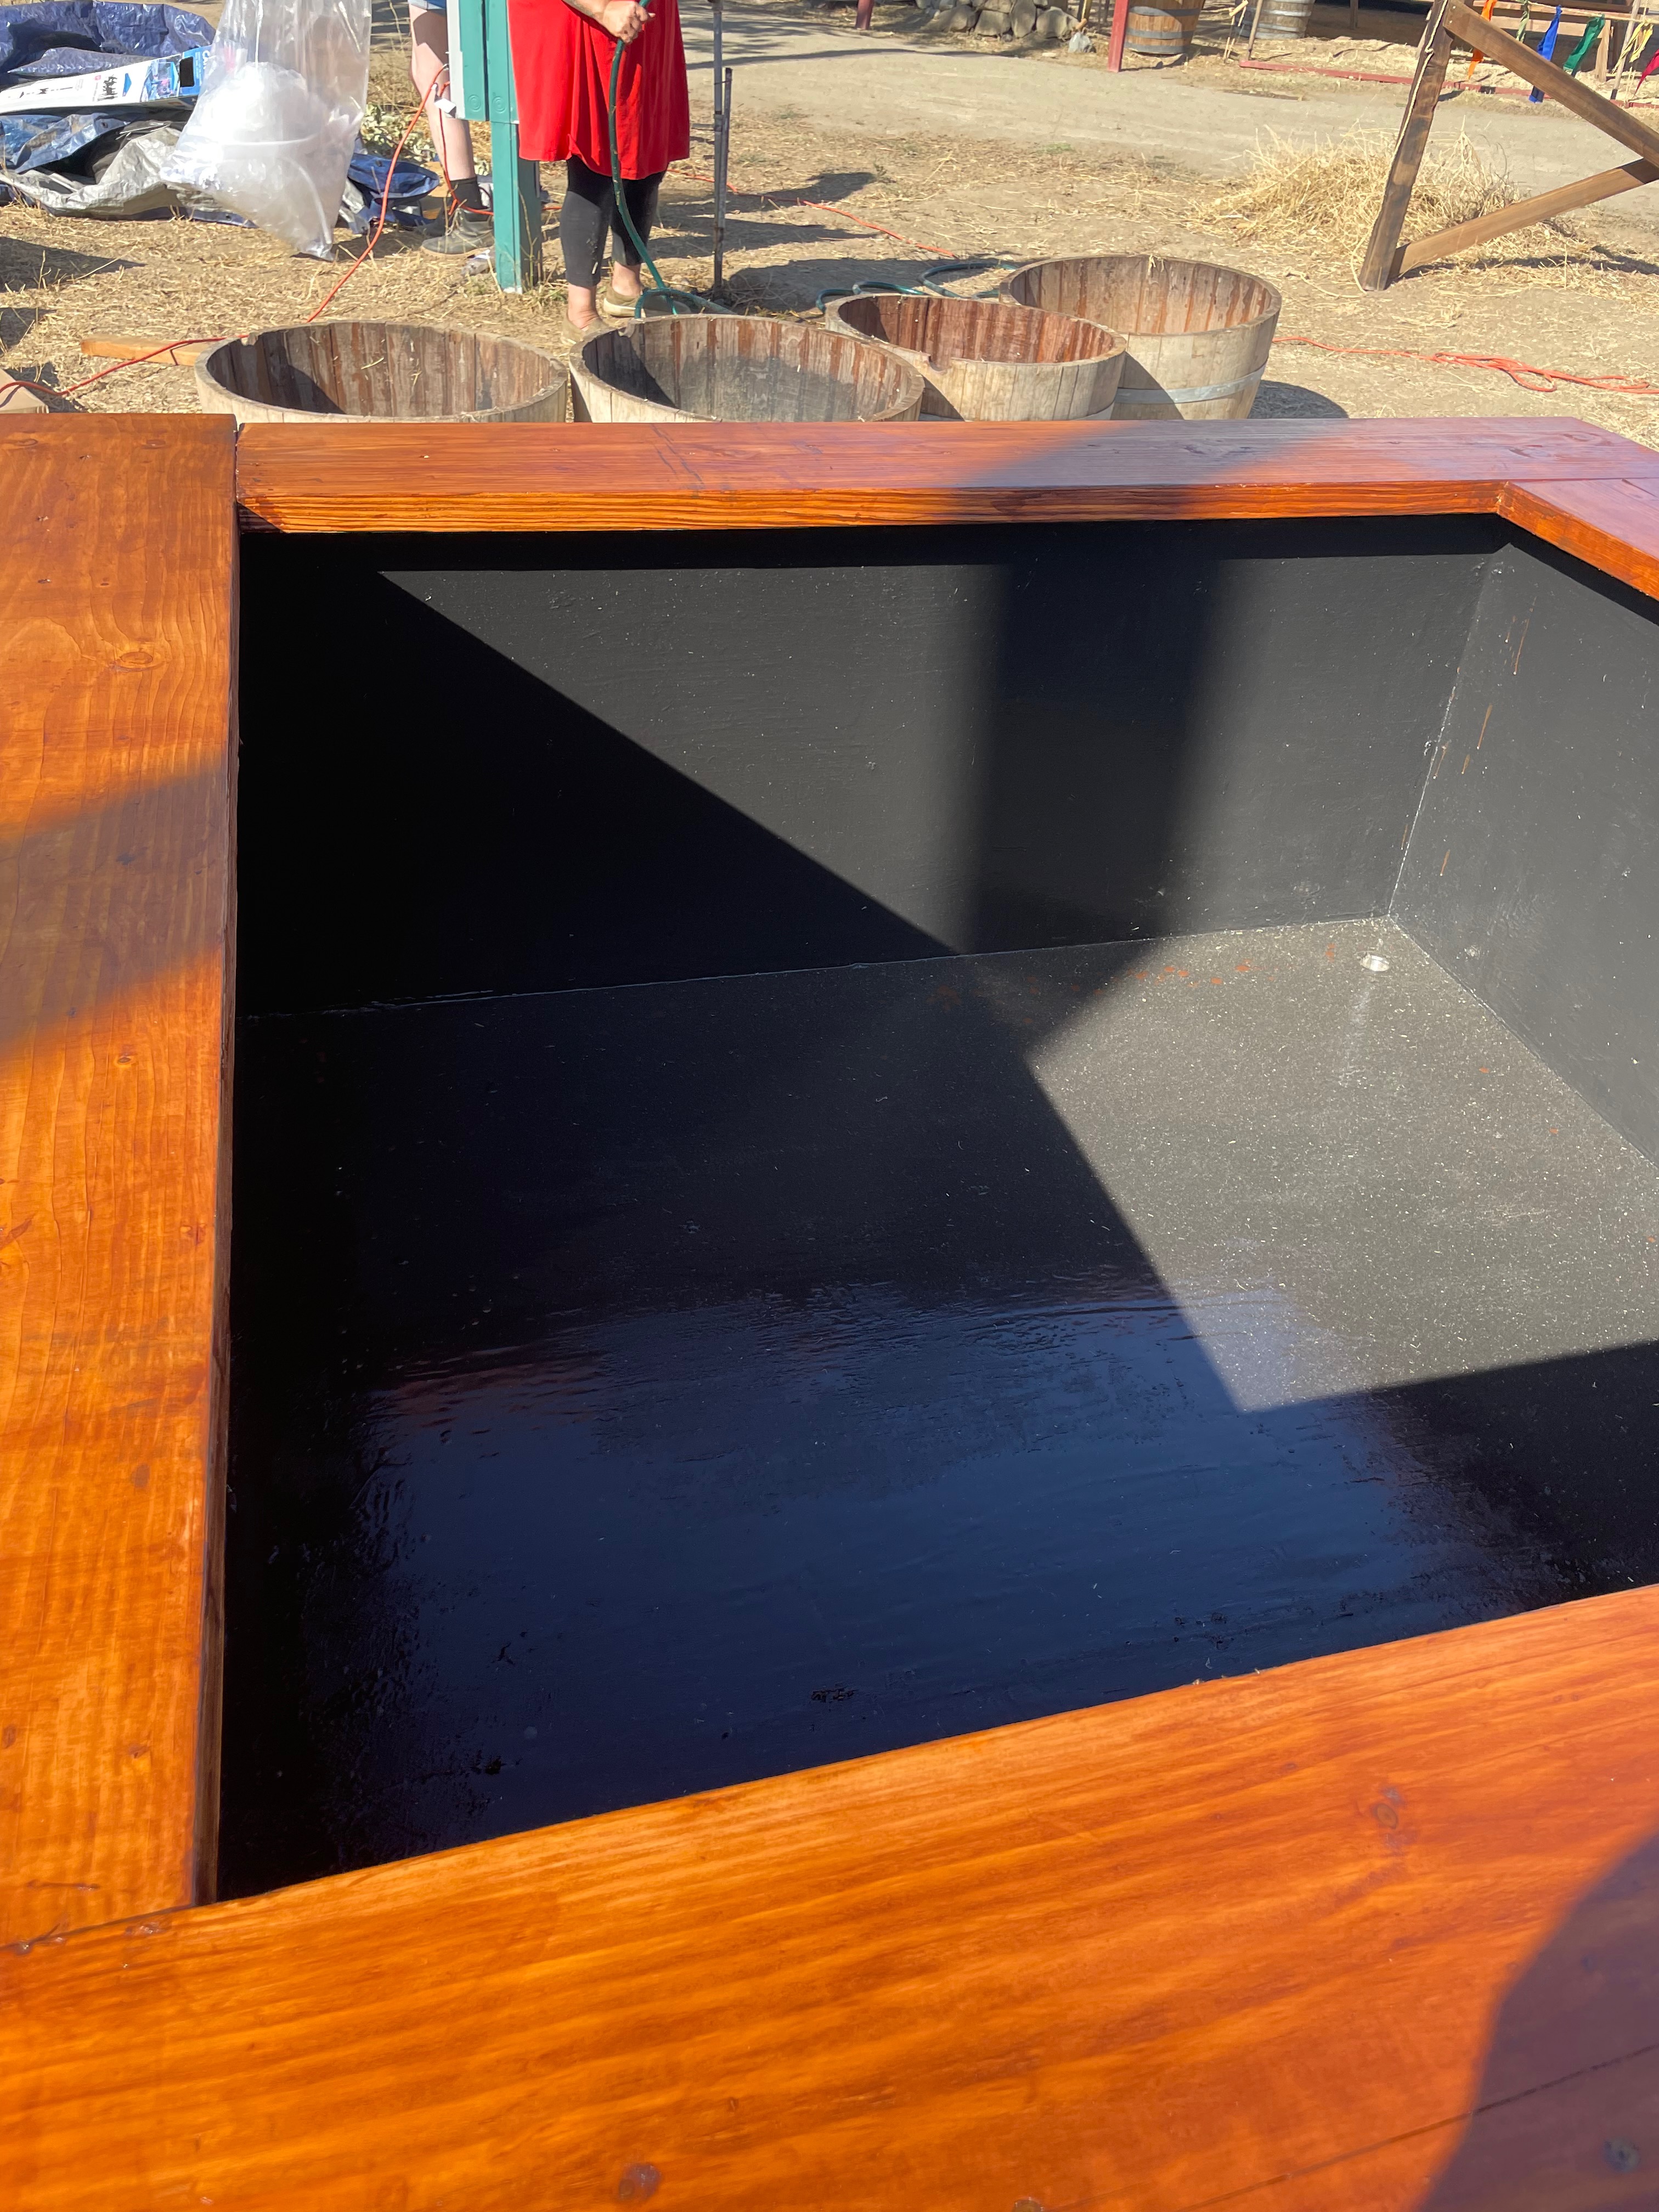
To make the inside water-tight, we applied 3M 4200 marine adhesive sealant along all seams inside the basin (I had used the 5200 adhesive in another project, but it seems that version is no longer available in California). Then the entire inside of the basin was painted with black Flex-Seal rubberized paint.
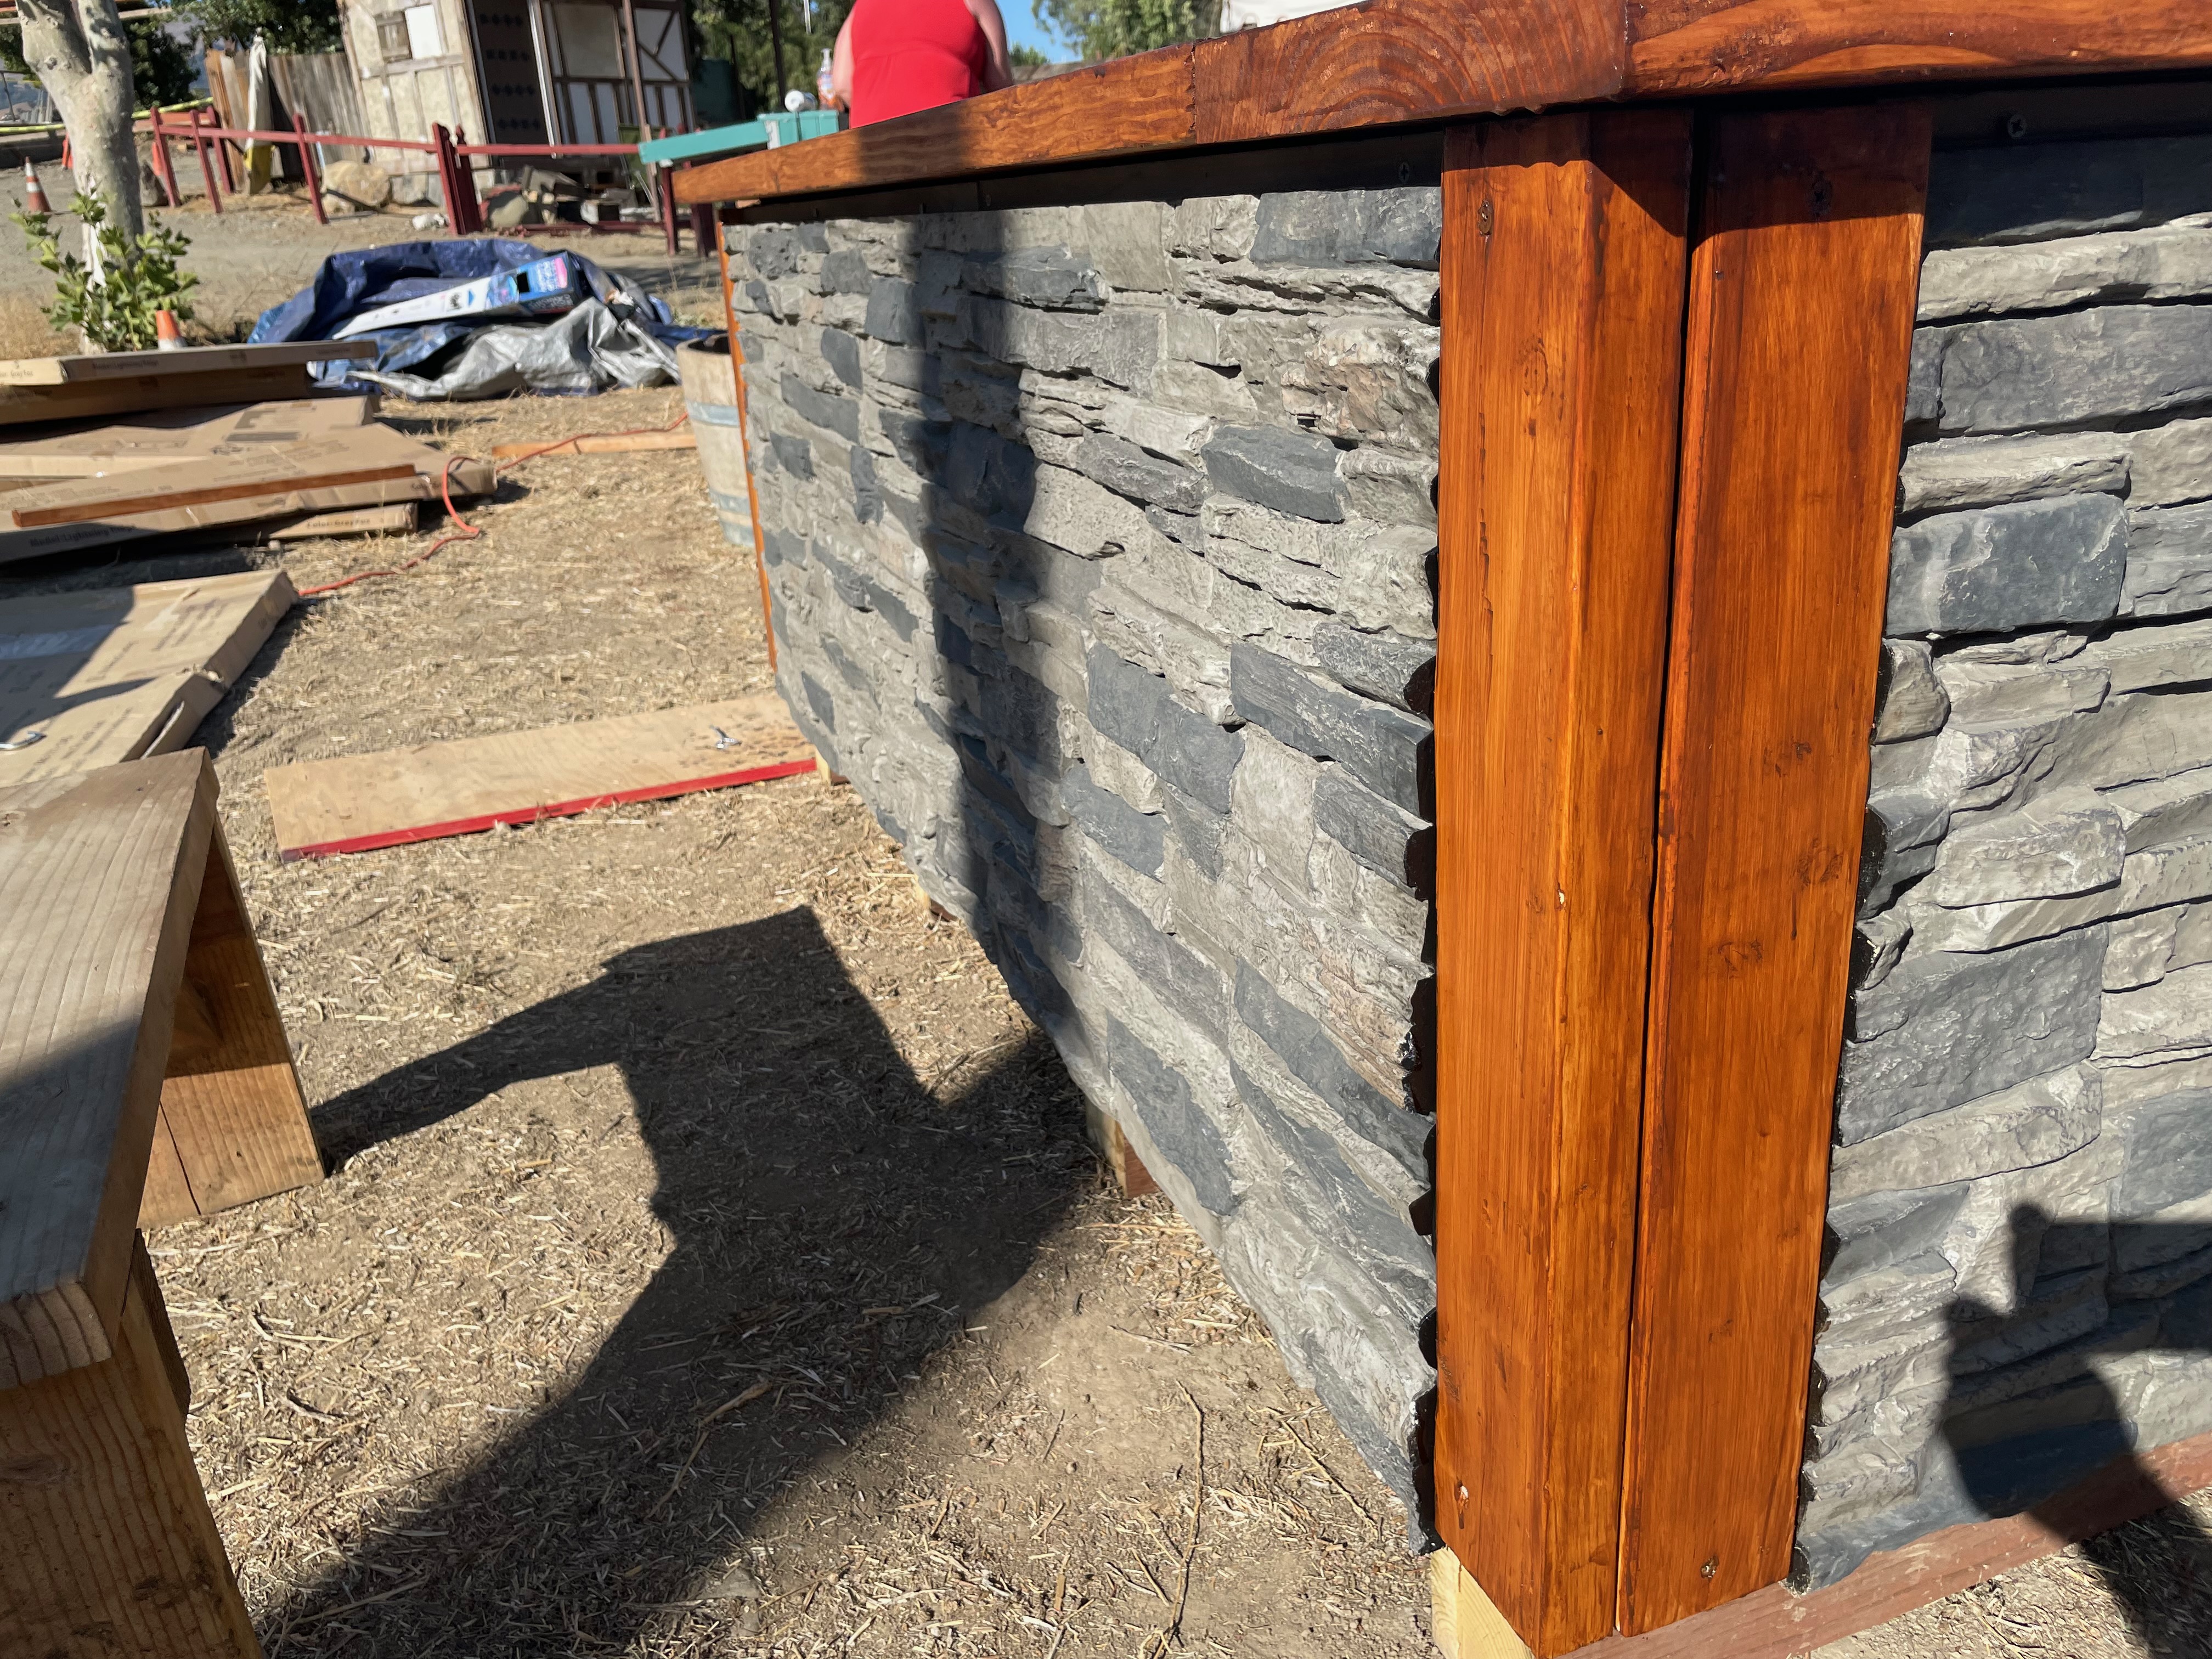
We used some faux stone paneling from Tritan BP to cover the outside of the basin, along with some 2-by-4 pieces to cover the corners (we couldn't source the corner pieces that go along with the Tritan faux stone, so this was the best we could do).
